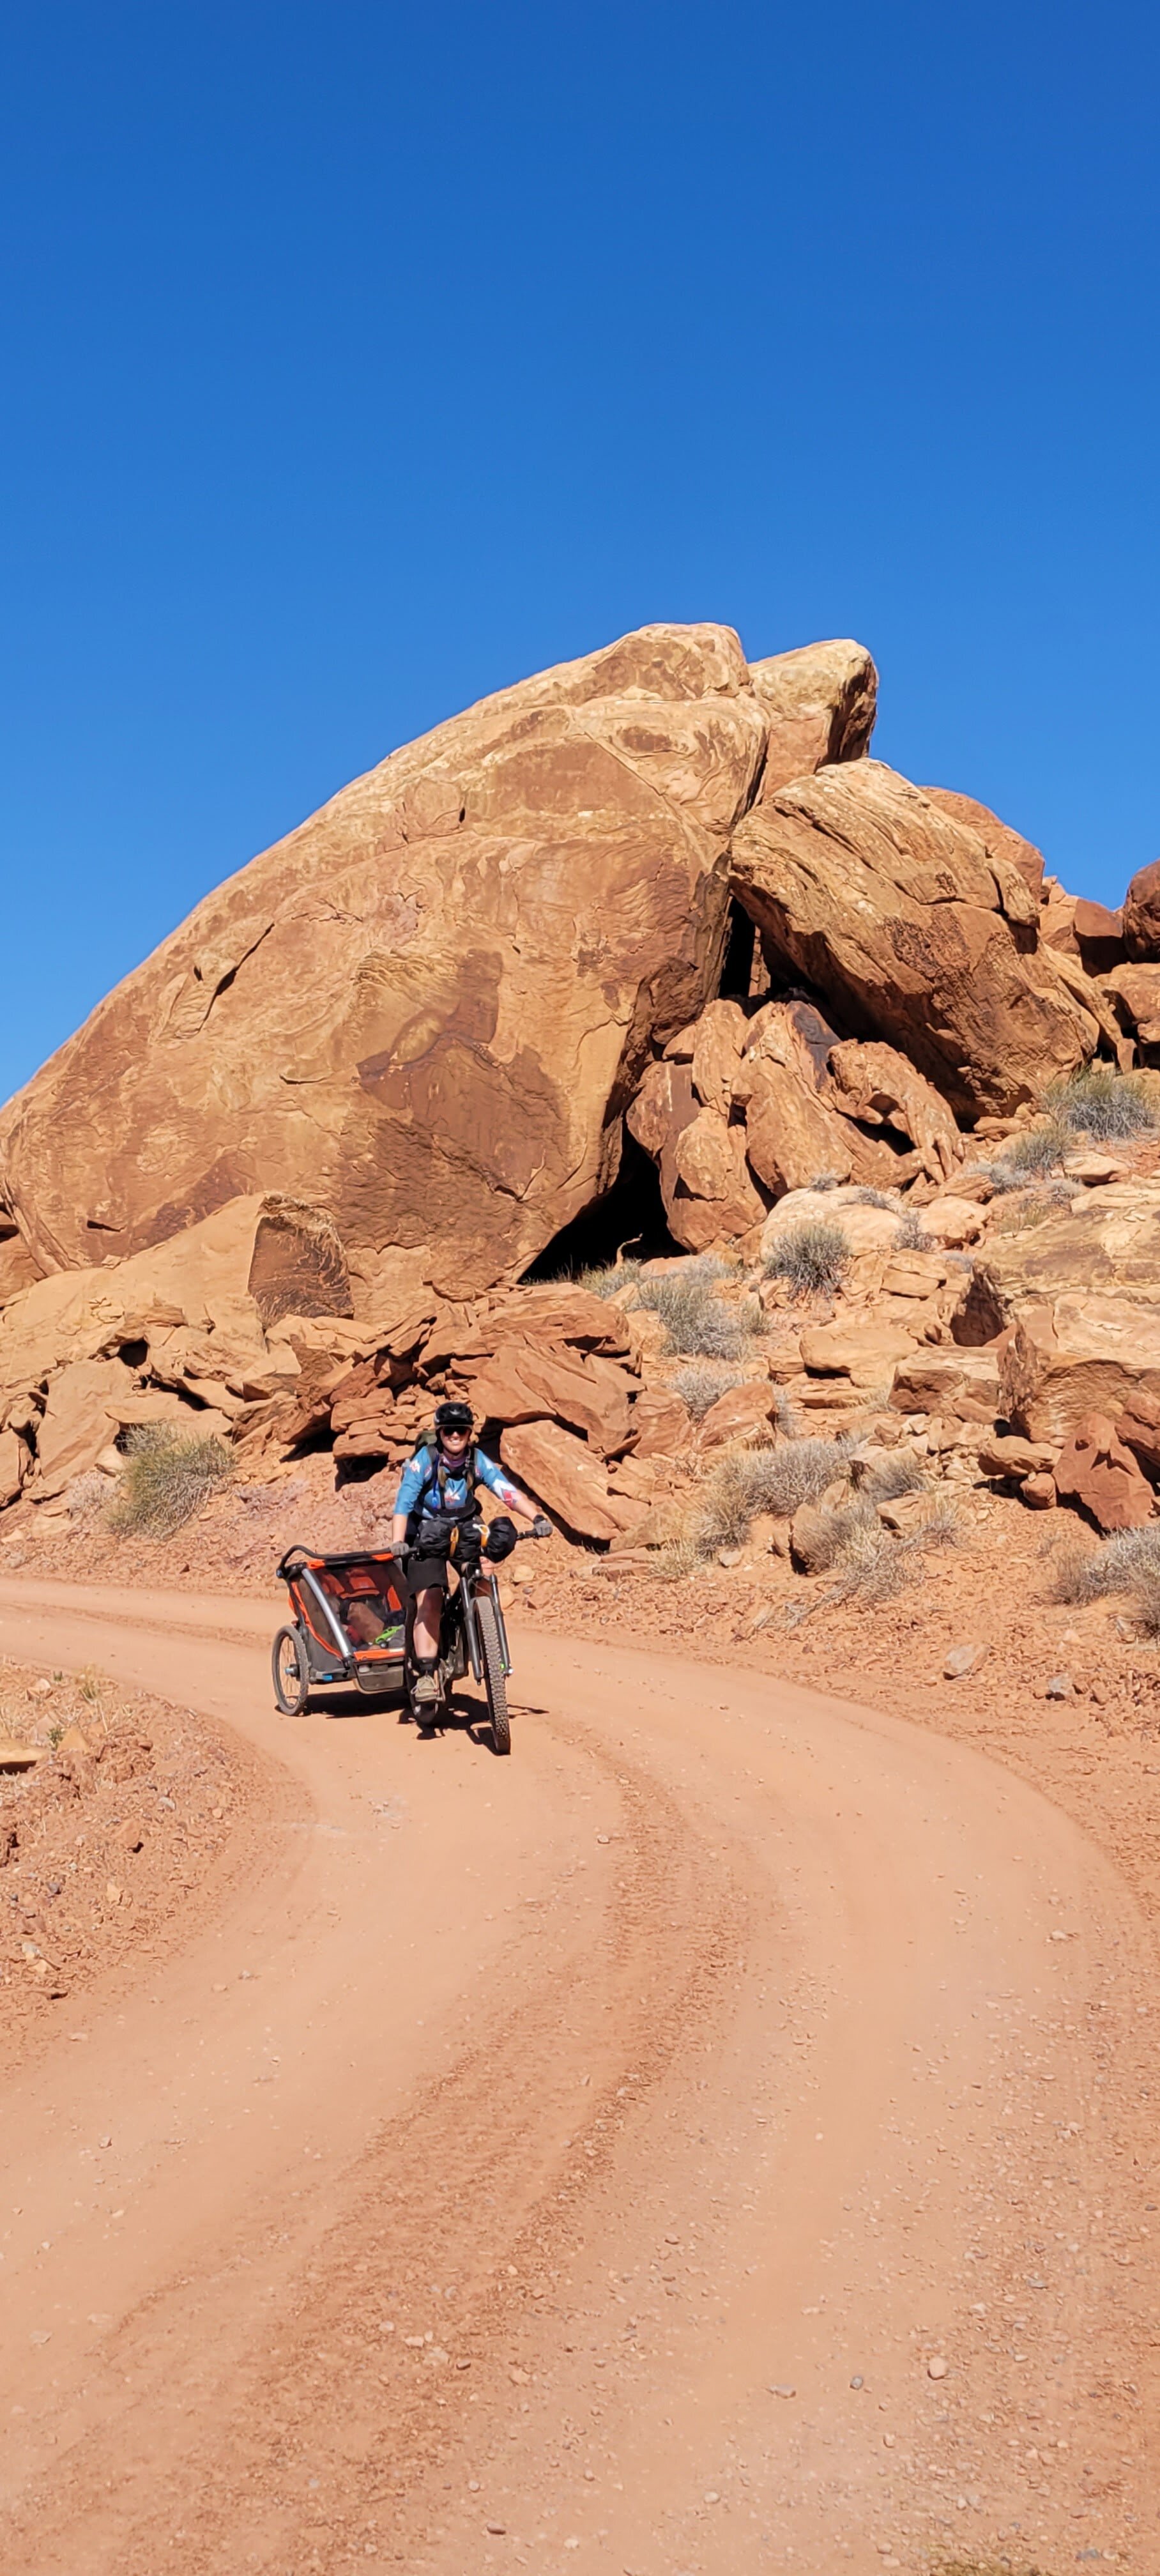
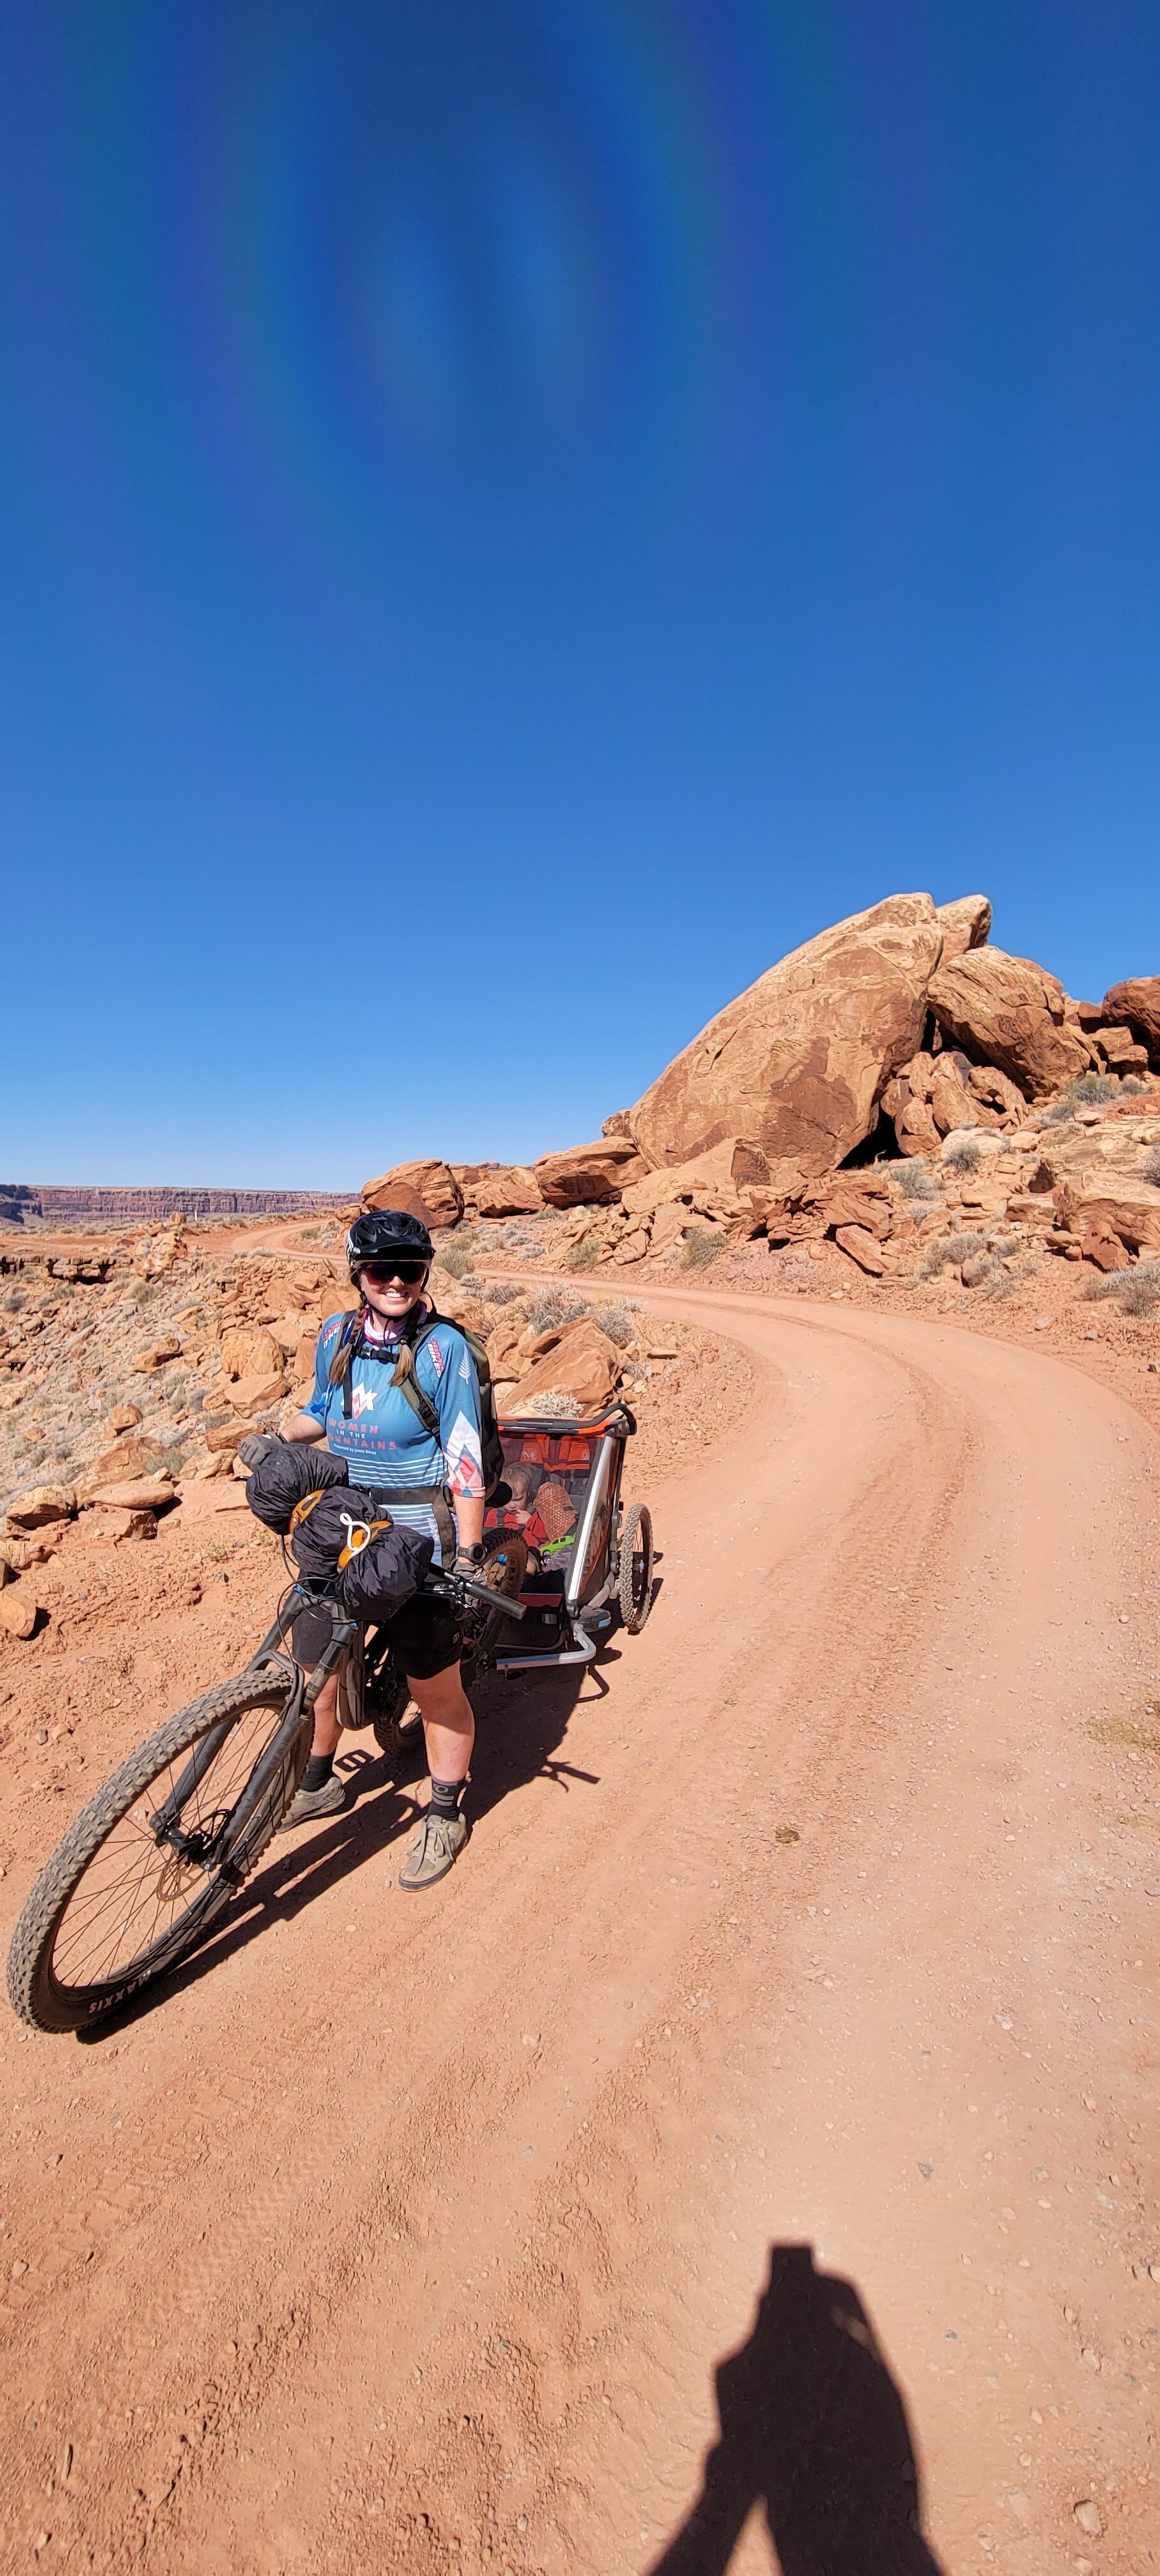
Overwhelmed with <gestures expansively> everything? That’s okay—it’s been a pretty intense year. You already know that mountain biking is a great way to clear your mind and bask in endorphins, but you might consider taking it to another level! Spending one or more nights in the woods with the bare minimum needed for survival is one of the greatest ways to ground yourself, evaluate where you are and where you’re going (literally and metaphorically), reconnect with yourself and the earth, and sharpen your life goals and vision. It’s a type of restorative, hardcore self-care that probably won’t involve lavender-infused bubble baths, but can definitely include lattes.
What is bikepacking?
Bikepacking combines two sports many of us love: biking and backpacking. It’s exactly what it sounds like—you carry everything you need for one or more nights away from home on your bike, and then camp in the wilderness. Bikepacking allows many people to cover much more ground than they would hiking. There are a lot of bikepacking resources on the Internet, but here are some basics to get your gears turning.
Which bike should I take?
At a minimum, your bike should be in good working order and be able to handle the terrain you’ve chosen. Popular bikepacking terrain includes pavement, gravel roads, forest roads, doubletrack paths, and singletrack trails. Bikepacking enthusiasts often leave their full-suspension bikes home since they are relatively heavy and the rear shock takes up valuable gear space. Don’t worry if your only option is your dual-suspension bike, however—you’ll just have to be a little more creative with packing. Some good options are rigid, cyclocross, gravel, hardtail, or fat-tire bikes. Many riders take older bikes on their backcountry camping trips; however, it’s critical that your aluminum/carbon steed be in good condition. Make certain that your brakes are in good shape so that they can handle the extra weight of your gear when descending.
Where should I camp?
Planning a route can be difficult, but also a lot of fun. Many biking and hiking paths have camping spots near or along the trail. It’s important to make sure there are water sources along your route —unless you want to carry a lot of water—so look for areas near lakes, streams, or rivers (but be sure to camp at least 200 feet away from bodies of water). Desert trips without water sources are generally shorter since you’ll have to pack it all with you. Water is heavy.
To help plan, use resources like maps, apps (we love using Gaia), guidebooks, websites, and friends. Google bikepacking spots in your region. Many areas have local bikepacking meet-up groups or dedicated bikepacking social-media forums. Some ideas for camping include in state parks, along forest-service roads, rails-to-trails corridors, and wilderness areas adjacent to regular mountain biking routes. Make sure to check local guidelines for fires and camping!
If you’re stuck, check out routes that others have designed and tested. Bikepacking.com has hundreds of pre-planned bikepacking trips all over the world! A typical bikepacking trip will cover 25-75 miles per day, but we recommend starting out much lower while you dial in your setup.
Should I bring kids?
Of course! If it’s your first family bikepacking trip, you’ll probably want to keep it simple. Pick a low-mileage route and keep it to one or two nights. You’ll likely carry at least some kids’ gear. One strategy is for one or more adults to make a pre-game trip to your camping destination with some of your gear so that you’ll have more room to help transport kids’ gear on the trail. Another option is to take a bike trailer, particularly if you will be traveling on doubletrack paths or forest roads.
What should we eat?
If you’re new to cooking in the woods, start by keeping meals simple and lightweight. Increasingly, there are many options for dehydrated meals that can be prepared by simply adding boiling water. There are also many websites with backpacking recipes you can prepare in advance. Water is the heaviest component of most food, so items such as oatmeal, protein bars, nuts, seeds, jerky, dried fruit, hard cheese, salami, and tortillas are popular for backcountry meals and snacks.
What should I wear?
Bike clothes: wear the things you usually bike in, including moisture-wicking layers and a chamois.
Sleeping clothes and socks. You may be tempted to wear the same things to bed that you rode in, but we recommend changing into clean, dry clothes that you wear only for sleeping (wool or Capilene base layers are great). Damp or sweaty clothes can keep you cold and miserable all night (and get your sleeping bag dirty faster), and nobody wants to sleep in a chamois—say no to chaffing!
Warm layers. As with most outdoor activities, layers are best. Check the weather – chances are that you will be much colder in the woods than at home, especially once you stop pedaling. Bring warm mid layers such as fleece or down, and lightweight, weatherproof outer layers.
Sturdy footwear. You’re going to need shoes for biking and shoes for camping. Your regular mountain-biking shoes might fit both bills, but if not, you might consider either bringing an additional pair to wear around camp or wearing a more multi-purpose pair of shoes for cycling.
What else should I bring?
Your packing list will be a combination of what you’d need for a mountain-bike excursion and a backpacking trip. Don’t fret if you’ve never been backpacking or don’t have your own stuff. Many outdoor companies and campus community centers rent out gear (such as the U of U), and this can be a good way to get your feet wet. We recommend going with friends or family, and sharing items like tents, stoves, and water filters. Most bikepackers carry somewhere in the range of 10-50 pounds of gear (including food, water, clothes, and toiletries). Keep in mind that more gear is heavier, and there is a good chance you’ll have to carry your bike over streams or fallen logs at some point. REI, Backcountry, and others have good lists for bikepacking essentials, which generally include the following:
Bike gear. Remember your helmet, gloves, glasses and bike tools!
Water-purification system. This will allow you to filter or treat water from streams, lakes, and rivers so that it’s safe to drink. Once water is filtered, it’s safe to drink, but practice using your filter beforehand! Many popular filters become clogged when they sit in storage over the winter. Many will also recommend you bring a back up method for filtering and purifying water. Pro tip 1: river and stream water generally is a lot tastier than lake water. Pro-tip 2: Bring a gallon-size freezer Ziplock “dirty bag” to collect water to filter. Some options include The Katadyn Base camp 10L and the MSR MiniWorks
Shelter. There are many ultralight tents and shelters available to purchase or rent. Other options include bivy sacks or hammocks.
Sleeping pad. A couple pounds can make a huge difference in comfort and warmth.
Sleeping bag. Make sure to check the temperature rating of your bag, as well as the forecast for the entire area you’ll be traveling.
Camp stove. Not critical, but camp stoves are invaluable for preparing hot cocoa, coffee, and for re-hydrating backpacking meals so you can enjoy a warm dinner. One of our favorite stove/pot combinations is the Jetboil, but there are many options available to rent or buy.
Cooking: You’ll likely need a camp stove and pot (see above), lighter or waterproof matches, spork, bowl, and a mug.
First-aid kit. Even emergency-medicine physicians can only help so much during true medical emergencies on the trail, but you can make minor injuries and bites much more comfortable with bandages, antibiotic treatments, splints, blister kits, and anti-itch treatments.
Emergency blanket. These lightweight blankets can not only keep you warmer by trapping up to 90% of radiated body heat, but can also become part of an emergency shelter, rain poncho, windbreaker, signaling device, first-aid wrap, tent fly, or water collector. They weigh and cost almost nothing, so bring a couple.
Navigation. Many of us rely on our smartphone’s GPS and apps like AllTrails and Trailforks; however, it’s a good idea to carry a physical map in a waterproof container for backup (for example, a printed map in a Ziplock freezer bag). Study your route in advance, and make note of emergency evacuation routes.
Hygiene/toiletries. These can include sunscreen, Chapstick, wet wipes (two per day for an almost-luxurious sponge bath), toilet paper, tampons, pads, toothbrush, and toothpaste.
Medications. In addition to your regular medications, it’s a good idea to bring some acetaminophen or ibuprofen.
Light: Bring a headlamp and extra batteries in a waterproof container.
Miscellaneous: We like to bring duct tape (a foot or two should suffice), voile straps or zip ties, rope, mosquito repellant, and/or head nets.
Luxury item: Many bikepacking enthusiasts like to bring one or two luxury items such as a pillow, portable phone charger, desert, bottle of soda, or other item that will significantly enhance their experience.
Bear spray: If you’re camping in areas with bears, take bear spray, hang up your food and toiletries (or place in bear canister), and read up on how to deal with uninvited visitors.
That’s a lot of gear—how do I carry it?
Backpackers simply place most of their gear in a backpacking-specific pack. While you could technically do this for bikepacking, we don’t recommend mountain biking with a 25-pound pack (we’ve tried… briefly). Save your back, and strap heavier items onto your bike frames in gear bags. You don’t need to spend a fortune on new gear, however. Chances are you already have bags that will work with some creativity and Voile straps. Look around and utilize duffle bags, smaller backpacks, Sea-to-summit dry bags, etc. Some bikepacking enthusiasts even sew their own bags to match their bike’s geometry!
If you’d rather purchase bikepacking-specific gear bags, you’re in luck! Here are some popular options:
Handlebar bags can attach to your harness, and are great for storing gear you’ll need to access frequently.
Frame bags nestle are good options for rigid or hardtail bikes, but may not work for dual-suspension bikes depending on the location of the rear shock.
Seat bags attach behind your saddle.
Top tube bags sit behind your handlebar on your bike’s top tube.
Some riders attach or strap extra water bottles to their forks or bottom tubes!
Congratulations—you’ve made it through Bikepacking 101! There are a lot of additional resources at the following sites:
www.bikepacking.com
www.rei.com/bikepacking
www.backcountry.com/bikepacking
Happy trails!


